Hey guys! A few years back I posted the original Zoom H5 and H6 reviews on my channel. After reading the hundreds of comments that you guys left, I’ve created a new, far more detailed review, in an attempt to answer as many questions as possible from you, the community.
In this article, we are going to explore the differences between the Zoom H5, and Zoom H6, and we are going to figure out which one is best for you.
Before we begin, I am going to point out that the Zoom H5 and Zoom H6 are two very similar recorders, but they are built for different purposes. As we go through the article, I am going to lay down the actual differences, and explain what situation each option would be better suited for.

Inputs
The Zoom H5 only has two XLR/TRS inputs, as opposed to the four built-in inputs on the Zoom H6.
If you plan on doing journalism, or recording one on one interviews, which would only require a maximum of two external microphones, the two inputs on the Zoom H5 will suffice.
On the other hand, the four built-in inputs on the Zoom H6 gives you the ability to plug in four microphones, thus making it perfect for podcasts, recording demos, band recordings, and more.
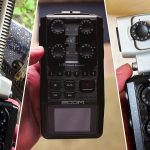
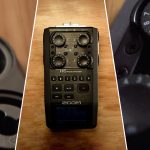
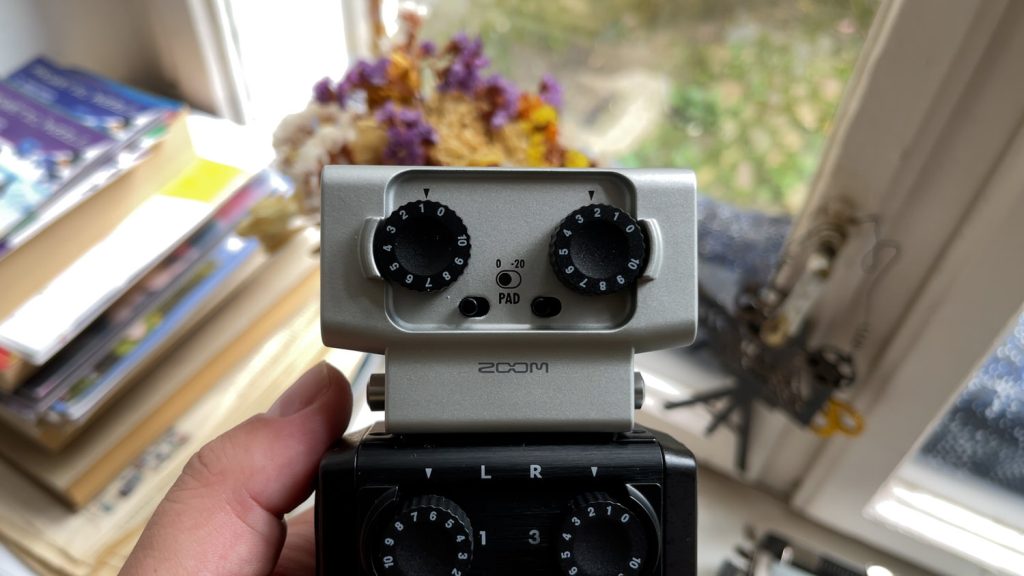
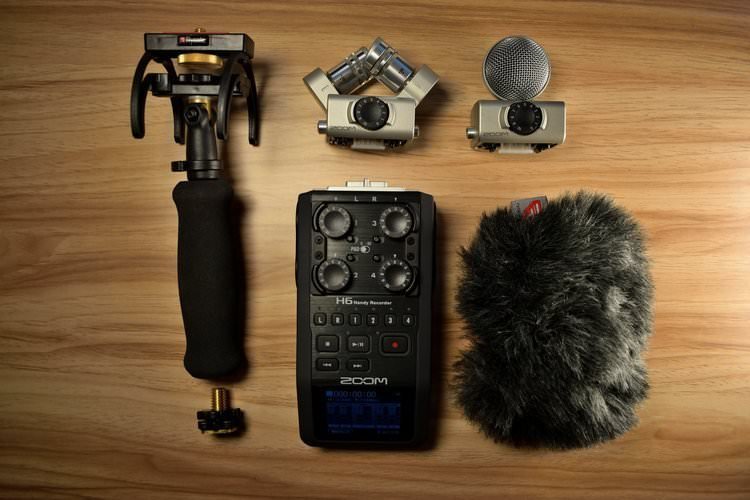
It is important to note that both recorders are modular, and they can both use the EXH-6 Combo Input Capsule. This allows them to use two more XLR microphones, though neither recorder can provide phantom power to the extra module.
So, when it comes to the number of inputs, the Zoom H6 is the clear winner.
Battery Life
Even though both recorders have exceptional battery life, the Zoom H5’s is shorter than that of the Zoom H6, according to Zoom.
This was presumably measured without any external microphones connected to the devices. Bear in mind that connecting two microphones to the H5, or four to the H6, will lower the battery life, especially if you are using phantom power.
There are many different variables which would potentially affect the battery life of the device, but the takeaway is that they both can record for hours at a time, and it’s always worth carrying some extra batteries with you, just in case.
In addition to that, most of these devices tend to work with battery packs, which most people carry with them.
Also, both the Zoom H5 and H6 have accessory packs which you can purchase separately, namely the APH-5 and the APH-6.
Amongst other things, these contain a cable and an adaptor, so you can run the device off the mains.
Accessories
Speaking of accessories, if you do go ahead and purchase the APH-5 or the APH-6 accessory pack, you’ll also get a windscreen, which is quite handy when recording outdoors, and a wired remote as well.
Size & Build
The Zoom H5 is a bit smaller and lighter than the Zoom H6. This is important to consider if you plan on adding it on top of a DSLR, which might already have a battery pack strapped to it.
The actual dimensions for the Zoom H5 are 7.77 x 2.63 x 1.66 inches, and it weighs 9.52 oz (269 grams). The Zoom H6 comes in at 14.46 oz (410 grams), and measures 8.39 x 3.1 x 1.88 inches.
Even though both are sturdy and rugged, it’s worth to point out that the Zoom H6 is rather larger and heavier, and this should be taken into consideration.
Portability
Both devices are designed to be portable, and the Zoom H5 comes in a cushioned plastic case. On the other hand, the new Zoom H6 Black doesn’t come with a case at all.
If you’re looking for soft cases, have a look at the PCH-5, and the PCH-6.
In terms of a more robust case, SKB makes really sturdy cases for both the Zoom H5, and the H6. The one that I bought for the H6 also has room for the device, the X/Y capsule, MS capsule, shotgun mic, dual input combo capsule, accessories, and a windshield.
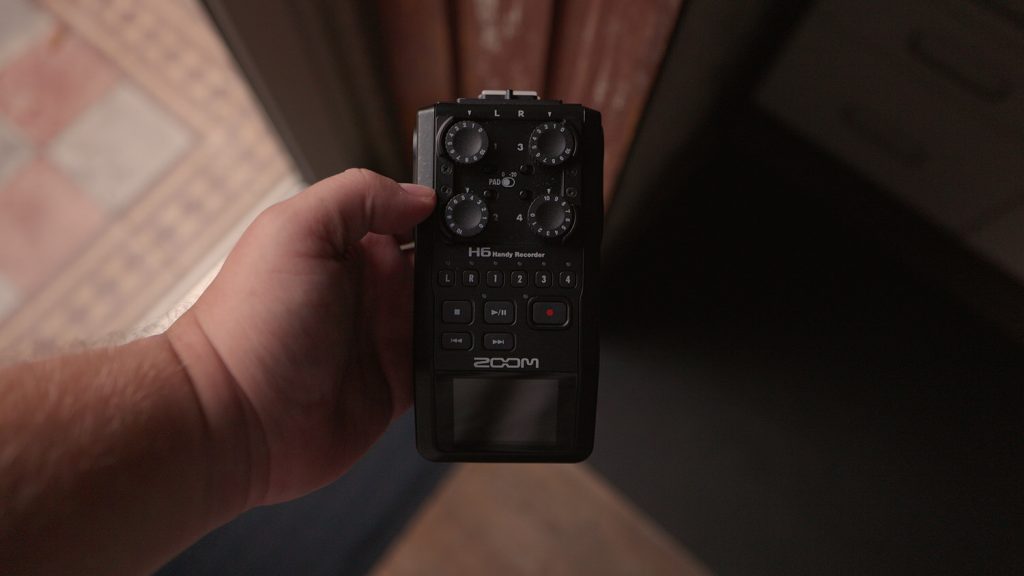
Display
When it comes to the displays, the H5 has a backlit LCD, whilst the H6 has a much nicer 2″ full-colour LCD.
Also, whilst the Zoom H6 screen is angled slightly down, the H5 is not. This is neither a good thing, nor is it a bad thing, as it just depends on what you’re using the device for.
If you’ll be looking down at the recorder, the Zoom H5 screen is better for that.
If, on the other hand, the recorder will be closer to eye level, like if it were mounted on a DSLR camera, the H6 screen will allow you to monitor levels without having to move your camera too much in order to look at the screen.
Phantom Power
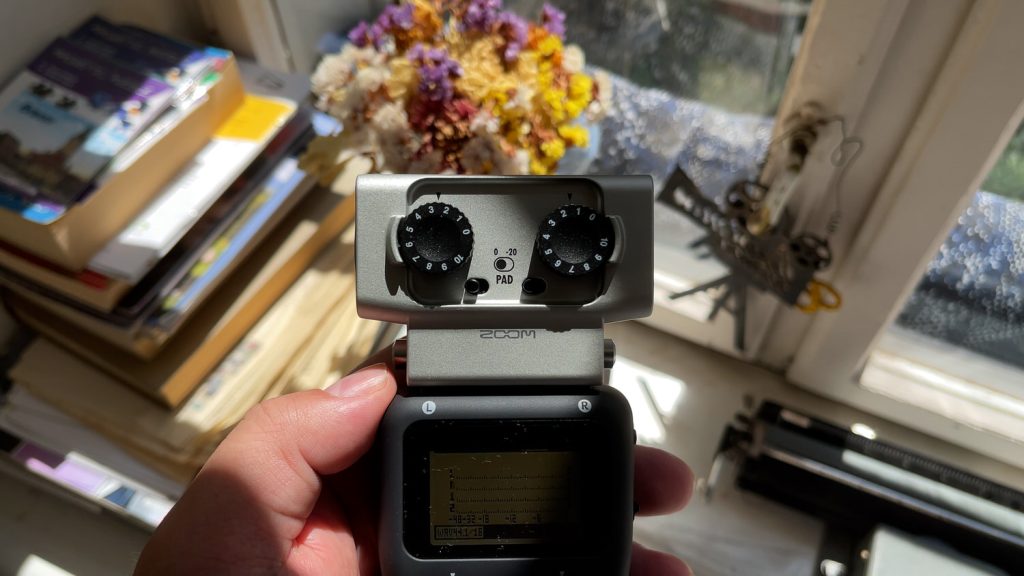
Whilst both recorders offer phantom power, which is needed by condenser microphones, the Zoom H6 offers phantom power for all its 4 x XLR inputs.
If you plan on purchasing the EXH-6 Combo Input Capsule, and connecting dynamic microphones to it, this should be fine, as dynamics do not require phantom power.
On the other hand, if you are going to connect condensers, the microphones plugged into the EXH-6 will not receive Phantom Power.
Regardless, make sure to look up whether or not your microphones require phantom power in the first place, before purchasing the capsule.
-12dB Backup
Next up, I wanted to cover one of the more useful feature of these two devices, and at the same time discuss its unfortunate limitations.
The Zoom H5 and H6 both have a feature called a -12dB backup. What it does is when recording, it creates a version of the recording, which is specifically 12dB quieter.
The reason why you would want this is if you get too loud when recording, and you get distortion, you can go into the -12dB safety track, and replace the distorted clip with the quieter, cleaner version.
This sounds fantastic in theory, but there is a problem. When I first heard about this, my assumption was that this feature could be used on all the inputs, including the EXH-6 Combo Inputs, or at the very least the built-in ones.
Capsules
As it turns out, this only applies to the Left and Right channels, so for instance on recordings that you capture with the X/Y capsule. As a result, you can’t do this for a microphone or instrument plugged into any of the XLR/TRS inputs.
The strange thing about this is that I’ve seen quite a few conflicting opinions online. Some people say that they’ve managed to get backups of XLR microphones, others say that they can’t.
I assume that the ones that did get them, used the EXH-6 Combo Input capsule to plug in the XLRs. That might actually work, but that’s a use case that only applies to a few people.
This does not affect someone like me, who uses the Zoom H6 in conjuncture with the SGH-6 Shotgun Microphone Capsule, but it would impact someone recording a podcast for example.
I assume this feature is incomplete due to a limitation in processing power. If you know a workaround for this, make sure to leave it down below in the comments.
Free Sound Effects
By the way, did you know I have compiled the largest list of free sound effects in the world? Over 500GB of sounds, ready to be downloaded, free of charge. Just figured you’d want to know. And now, back to the review.
Setting Levels
Now that safety tracks have been addressed, I actually want to talk about setting healthy levels, and how to avoid needing a backup track in the first place.
Here is the simplest way I can describe setting levels: Peak as high as you can, without actually clipping.
In practical terms, you want to set your levels so that you don’t really peak above -6dB, try to keep the average around -12dB, with softer sounds hitting around -20dB.
You’ll find a lot of debate online as to how you should set this, but use the numbers I gave you, and play around with your device until you get results that you like.
When in doubt, it’s better to set them too low, than too high. If it’s too high, your recording will be distorted, which will make it unusable.
If it’s too low, you’ll get hiss in your recording, but that’s better than the alternative, and it can even add character in the case of some instrumental recordings.
Sample Rate, Bit Depth, & Modularity
When it comes to sample rate and bit depth, know that both devices can record up to 96kHz / 24 bit, and that that’s way more than enough for most people.
If you want to delve a bit deeper into sample rates and bit depth, check out my more recent reviews of the Zoom H5 and H6 from a few months ago. I don’t want to keep repeating myself too much in these videos, so if you want, you can do a deep dive into those videos.
The same actually applies to the capsules. Both devices have access to many capsules, which can be purchased separately. For the same reason as stated above, if you want to learn more about them, check out them in the link down below.
Voice Overs
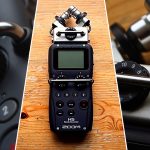
As you might know if you’ve been watching my videos, I’m currently recording my voice overs with the Zoom H6 and the SGH-6. I switched to this, from my older setup which involved a Shure SM7B, a cloud lifter, and a Zoom H8.
The reason is that it’s far more portable, whilst delivering similar quality.
The reason why I chose the SGH-6, over just using the default X/Y capsule that came with it, is because the SGH-6 is far more directional.
As a digital nomad, I travel around, and I can’t always know what the next Airbnb will sound like, in terms of acoustics and noise. As a result, I use the highly directional SGH-6, which will mostly just focus on my voice, and it will ignore the sound reflections coming from the side, and other unwanted noise coming from the back.
You can use the X/Y capsule that comes with this device, but you’ll be capturing a lot more of the room, instead of a more isolated sound. This can be a good or a bad thing, depending on the situation.
Audio Interface
The Zoom H5 and H6 can also be used as an audio interface, with your DAW of choice. All you have to do is go into Menu, select USB, and then Audio Interface. The device then gives you the option of either going via the route of a Stereo Mix, or Multi Track.
Once you’ve done that, you’ll have to select either PC/Mac or PC/Mac using battery power. If you computer can’t supply enough power to the device when using Phantom Power, select ‘PC/Mac using battery power’. This will use some of the battery in the H6 in order to provide Phantom Power.
Wind Protection
If you have to record outdoors, foam windshields will prove to be rather unhelpful. They’re ok when recording indoors, but any gust of wind will make the recording unusable.
You know what I’m about to say next, don’t you? 🙂
If you want a simple fix to that problem, Rycote sells a three-in-one solution for each recorder. I promise I’m not sponsored by Rycote.
A grip, by which you can hold the recorder, a shock mount which basically eliminates handling noise, and a good quality windshield, which will protect the microphone from wind, though very strong winds might still affect the microphone.
If you’re curious, I’ve included links down below to all of the gear mentioned in the article, so you can have a look.
Level Control
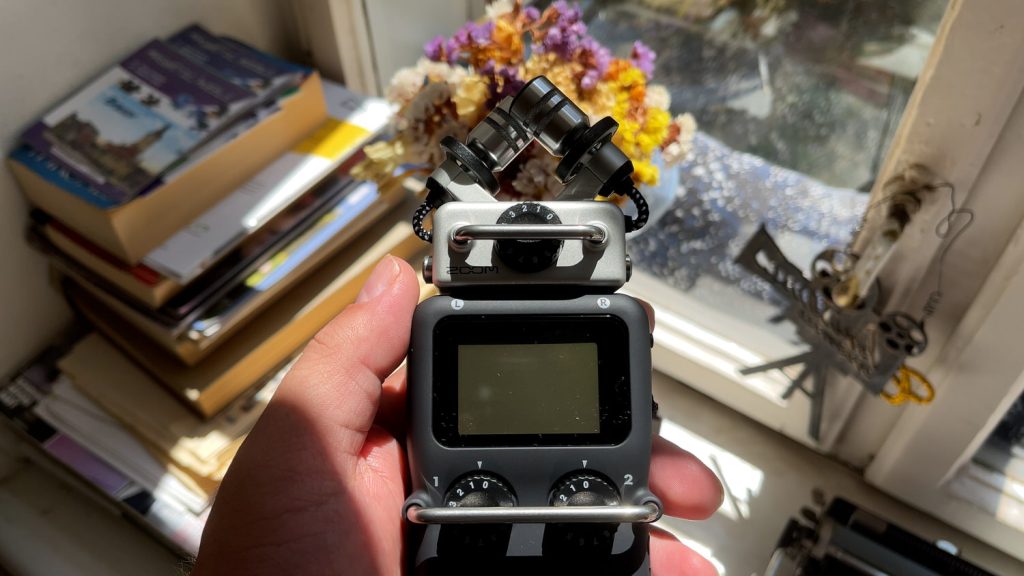
When it comes to level control, The Zoom H5 has a metal bar which makes it difficult to accidentally change the input levels. Whilst the H6 does have some measures in place in order to prevent that, the H5 method feels a lot more reliable, as it is a large metal bar, physically preventing you from making any changes.
If you know you’re likely to accidentally hit, or run your hand over the recorder and change the levels, this might be something to take into consideration.
Guitar Effects
The Zoom H5 and H6 do not have built-in guitar effects, like the H4n Pro, or the H8, but they do have built-in tuners.
This is not something that I’ve ever used, as I prefer to record my electric guitar tracks clean, and then add effects later, but this is something that a lot of guitar players might be interested in.
Conclusion
So, which one should you get? Ultimately, both recorders are very similar, but built for different purposes. They’re both quite rugged and well built, have good sound quality, modular microphones, and multiple XLR/TRS inputs.
If all you need is to connect a maximum of two microphones to it, like in a one on one interview setting, the Zoom H5 will suffice.
That being said, if you think you might one day need to plug in a few extra microphones, it’s worth spending a little bit of extra money and getting the Zoom H6.
The price difference isn’t massive, and by getting the Zoom H6, you’re future-proofing yourself.
If you’d like to purchase any of the items I’ve mentioned in this article, or see how much they cost in your country, I have a link down below where you can view them.
Thank you for reading my review of the Zoom H5 vs Zoom H6. I invite you to have a look at some of my other articles. We have something for everyone, whether you’re interested in audio, or cameras and lenses. Alternatively, if you prefer video reviews, feel free to have a look at my YouTube channel.
Product Links
Down below you will find all of the items I talked about in this article.